개요
실전 스프링 부트 책을 읽다가 SpringApplication.run() 메서드가 실행될 때 수행하는 작업을 알게되었다.
- classpath에 있는 라이브러리를 기준으로 ApplicationContext 클래스 인스턴스를 생성
- CommandLinePropertySource를 등록해서 명령행 인자를 스프링 프로퍼티로 읽어 들인다.
- 앞의 1단계에서 생성한 ApplicationContext를 통해 모든 싱글턴 빈을 로딩한다.
- 애플리케이션에 설정된 ApplicationRunners와 CommandRunners를 실행한다.
설명은 위와 같았는데 과연 정말 그럴까???
개발자는 코드로 공부해야 한다고 생각한다. 직접 코드를 뜯어보며 이해해보자.
코드
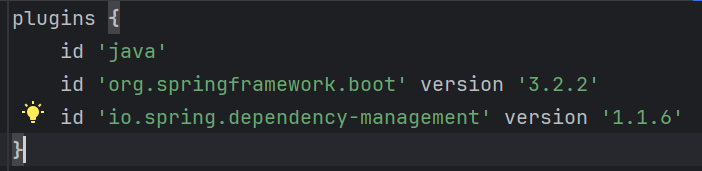
먼저 참고한 스프링 부트의 버전은 3.2.2이다.
버전이 다를경우 내부 로직이 다를 수 있다.
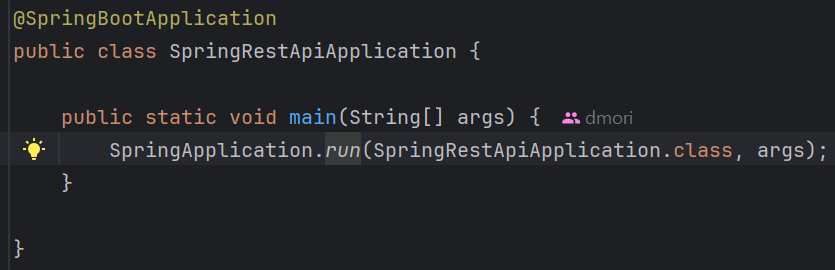
먼저 스프링 부트 애플리케이션 메인 클래스의 코드이다.
역시나 SpringApplication.run() 메서드가 존재한다.
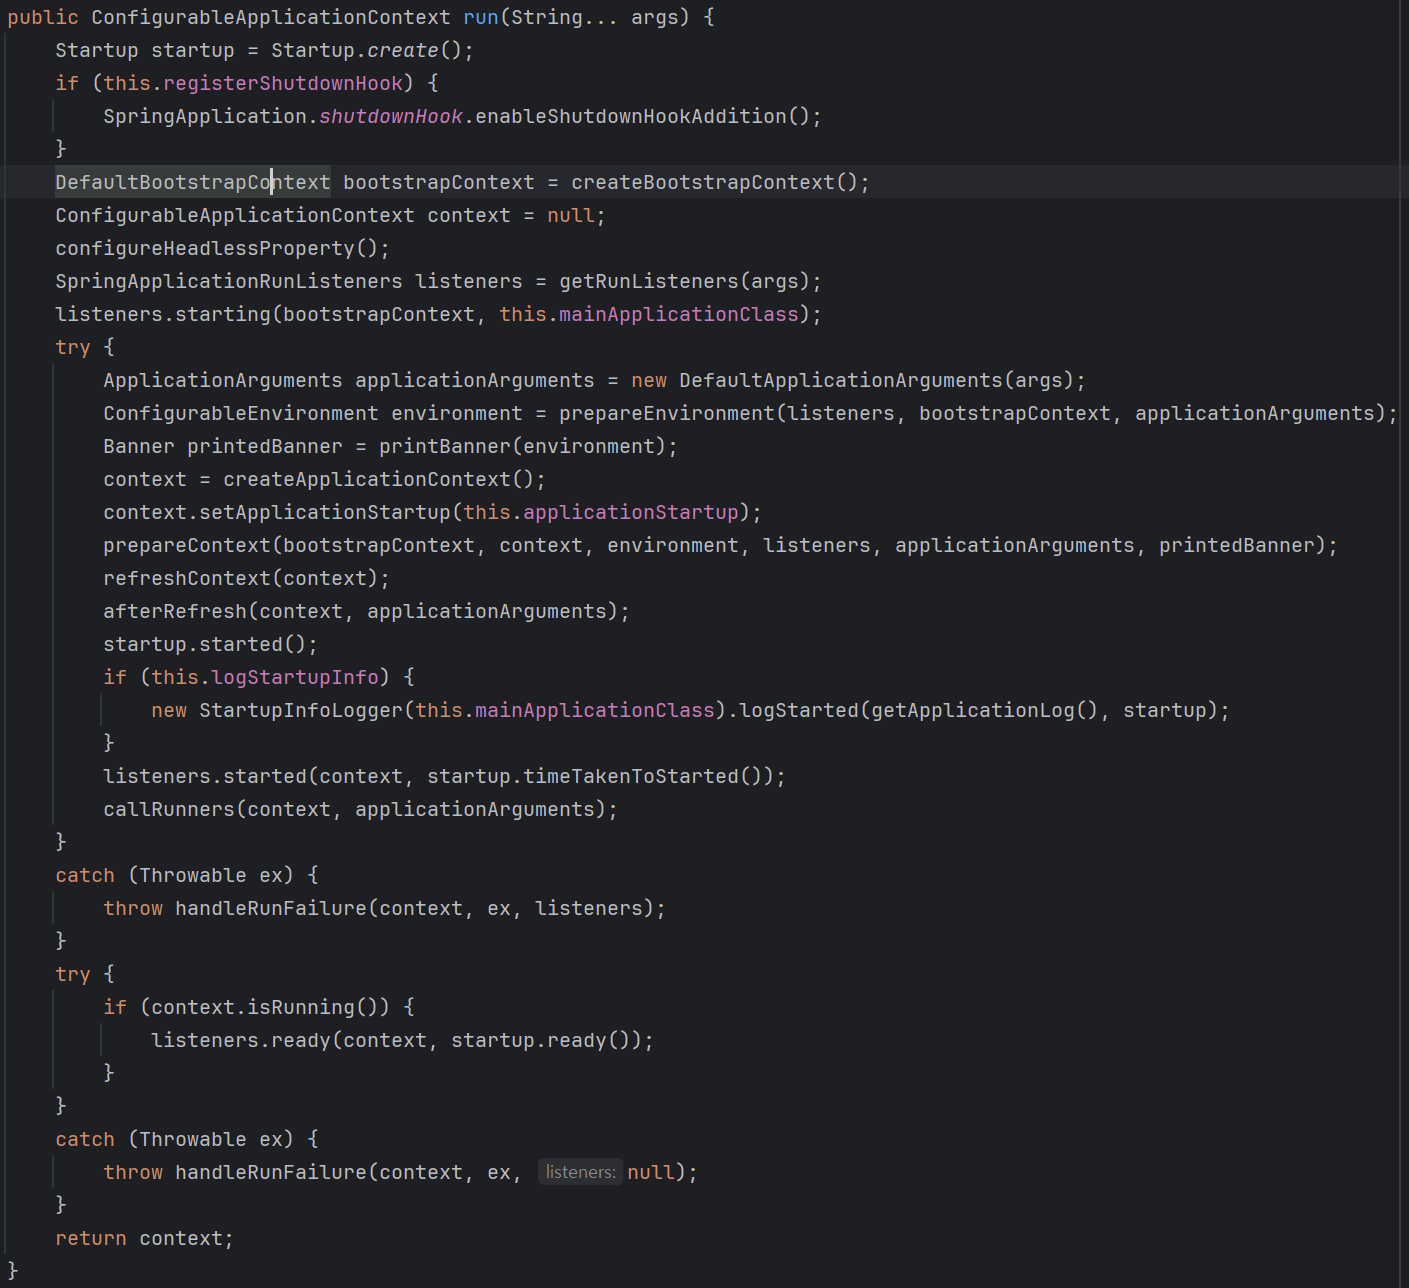
각 라인에 대한 분석은 Claude를 이용해 진행했다.
1. 초기화 및 준비 단계
1. 애플리케이션 시작 시간을 측정하기 위한 Startup 객체 생성
Startup startup = Startup.create();
2. JVM 종료 시 스프링 애플리케이션을 깔끔하게 종료하기 위한 shutdown hook을 등록할지 결정
if (this.registerShutdownHook) {
   SpringApplication.shutdownHook.enableShutdownHookAddition();
}
3. 부트스트랩 컨텍스트를 생성, 메인 애플리케이션 컨텍스트 변수 초기화
DefaultBootstrapContext bootstrapContext = createBootstrapContext();
ConfigurableApplicationContext context = null;
4. GUI가 없는 환경(서버 환경)에서 실행되도록 시스템 속성을 설정
configureHeadlessProperty();
2. 리스너 및 환경 설정
1. 애플리케이션 실행 과정에서 발생하는 이벤트를 처리할 리스너들을 가져오고, 시작 이벤트를 발생시킵니다.
SpringApplicationRunListeners listeners = getRunListeners(args);
listeners.starting(bootstrapContext, this.mainApplicationClass);
3. Try 블록 - 메인 로직
1. 명령행 인수들을 ApplicationArguments 객체로 래핑
ApplicationArguments applicationArguments = new DefaultApplicationArguments(args);
2. 프로퍼티 파일, 환경 변수, 명령행 인수 등을 포함한 환경을 준비
ConfigurableEnvironment environment = prepareEnvironment(listeners, bootstrapContext, applicationArguments);
3. 스프링 부트 시작 시 보이는 배너를 출력
Banner printedBanner = printBanner(environment);
4. 실제 애플리케이션 컨텍스트를 생성하고, 시작 시간 측정 객체를 설정
context = createApplicationContext();
context.setApplicationStartup(this.applicationStartup);
5. 컨텍스트를 초기화하기 위해 필요한 설정들을 준비 (빈 정의 로드, 초기화자 실행 등)
prepareContext(bootstrapContext, context, environment, listeners, applicationArguments, printedBanner);
6. 가장 중요한 단계! 실제로 모든 빈들을 생성하고 의존성을 주입하며, 애플리케이션을 완전히 초기화
refreshContext(context);
7. 컨텍스트 새로고침 후 추가 작업을 수행합니다 (주로 확장 포인트).
afterRefresh(context, applicationArguments);
4. 시작 완료 처리
1. 시작 시간 측정을 완료하고, 시작 정보를 로그에 출력
startup.started();
if (this.logStartupInfo) {
   new StartupInfoLogger(this.mainApplicationClass).logStarted(getApplicationLog(), startup);
}
2. 시작 완료 이벤트를 발생시키고, CommandLineRunner나 ApplicationRunner 구현체들을 실행
listeners.started(context, startup.timeTakenToStarted());
callRunners(context, applicationArguments);
5. 예외 처리
1. 실행 중 발생한 예외를 처리하고, 실패 이벤트를 발생시킵니다.
catch (Throwable ex) {
   throw handleRunFailure(context, ex, listeners);
}
6. 최종 준비 완료
1. 컨텍스트가 정상적으로 실행 중인지 확인하고, 준비 완료 이벤트를 발생시킵니다.
try {
   if (context.isRunning()) {
      listeners.ready(context, startup.ready());
   }
}
catch (Throwable ex) {
   throw handleRunFailure(context, ex, null);
}
2. 완전히 초기화된 애플리케이션 컨텍스트를 반환
return context;'Spring Framework > Spring Boot' 카테고리의 다른 글
| [Spring Boot] 스프링 부트 이벤트 리스너 구현과 등록 (2) | 2025.07.17 |
|---|---|
| [Spring Boot] SpringApplication.run() 메서드 인자에 관해서 (0) | 2025.07.17 |
| [Spring Boot] 리액티브 프로그래밍이란? (0) | 2025.07.17 |
| [Spring Boot] 스프링 부트 애플리케이션 종료 (1) | 2025.07.02 |
| [Spring Boot] Jar vs War 배포 방법 비교 (0) | 2025.01.08 |
